How Do You Digitize Film Photos?
Digitizing film photos involves a multi-step process that requires careful preparation, attention to detail, and the right equipment to convert physical images into high-quality digital files. It begins with gathering necessary materials and equipment, such as a scanner or digital camera, and preparing the workspace. Next, handle the photos with care to prevent damage, inspect and clean them, and organize them in a logical order. The scanning process involves adjusting settings to optimize image quality and positioning the film correctly. From there, the digitized images can be edited and refined, and finally, organized and stored in a secure and accessible manner, with the journey from analog to digital just beginning.
We are supported by our audience. When you purchase through links on our site, we may earn an affiliate commission, at no extra cost for you. Learn more. Last update on 27th June 2025 / Images from Amazon Product Advertising API.
Gathering Materials and Equipment
At least five essential items are required to digitize film photos effectively. First, a high-quality scanner or digital camera is necessary to capture the image. A computer with sufficient storage and compatible software is also required to process and store the digitized images. A reliable power source and adequate lighting are vital to guarantee consistent results. Additionally, cleaning supplies, such as a soft brush and compressed air, are necessary to remove dust and debris from the film and scanning equipment. In terms of securing your valuable digitized photos, consider investing in a gun safe under $400 to protect them from damage or loss. Moreover, organizing your workspace is key to a smooth digitization process, much like how a well-organized gun safe can provide peace of mind. In conclusion, a comfortable and organized workspace is essential to guarantee a smooth digitization process. By gathering these essential items, individuals can effectively digitize their film photos and preserve cherished memories
Preparing Your Film Photos
The delicate nature of film photos demands careful handling to prevent damage and guarantee superior digitization results. Before digitizing, inspect each photo for dirt, dust, or other debris that may interfere with the scanning process. Gently brush off loose particles using a soft-bristled brush or a lint-free cloth. Handle photos by the edges to prevent oils from your skin from damaging the surface. Remove any adhesive tape, staples, or other obstructions that may cause issues during scanning. Organize your photos in a logical order, such as by date or event, to make the digitization process more efficient.
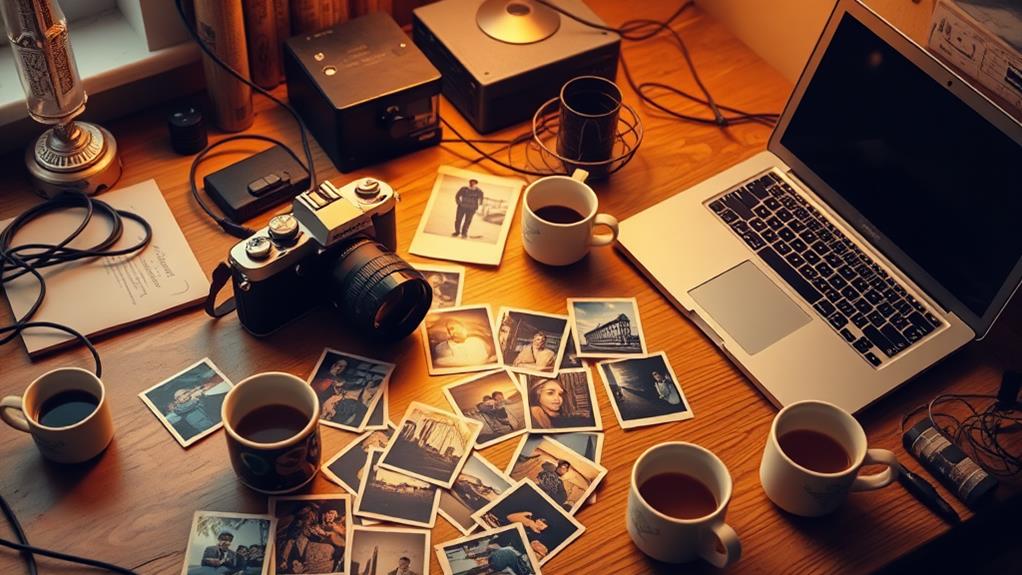
Scanning Your Film Photos
Scan your film photos with a dedicated film scanner or a high-quality flatbed scanner equipped with a transparency adapter. This will allow you to capture high-quality digital images of your film photos. When scanning, it’s essential to adjust the scanner settings to optimize the image quality, just like how a durable tactical backpack like the SAMURAI TACTICAL Tactical Day Pack Backpack offers exceptional durability and functionality for outdoor enthusiasts. Set the scanner to the appropriate resolution, usually 300-600 dpi, and select the correct file format, such as TIFF or JPEG. Additionally, verify the scanner is set to capture the entire image area to avoid cropping. Properly positioning the film on the scanner bed is also vital to prevent distortion and guarantee accurate focus. By following these guidelines, you’ll be able to produce high-quality digital scans of your film photos.
Converting Negatives to Digital
Most film enthusiasts have a stash of negatives accumulating dust, waiting to be brought back to life in the digital sphere. Converting these negatives to digital files can be a challenging task, but with the right tools and techniques, it can be a rewarding experience. One way to convert negatives is by using a film scanner or a DSLR camera with a macro lens and a light source. Another method is to outsource the conversion to a professional service. Relive cherished memories by digitizing your negatives and sharing them with loved ones. Preserve your family’s history and legacy for future generations. Breathe new life into forgotten moments and experiences. Enjoy the tactile experience of handling physical negatives while still having a digital backup. Release creative possibilities by editing and enhancing your digitized negatives
Editing and Enhancing Images
Once you’ve successfully digitized your negatives, the real fun begins: editing and refining your images. This stage allows you to refine your digital scans, correcting imperfections and amplifying the visual appeal of your photographs. Start by adjusting the brightness, contrast, and color balance to restore the original tone and vibrancy of the image. You can also remove dust, scratches, and other blemishes using software tools like the clone stamp or spot healing brush. Additionally, consider applying subtle filters or effects to intensify the mood and atmosphere of the photograph. By carefully editing and refining your images, you can breathe new life into your digitized film photos, making them look fresh and revitalized.
Organizing and Storing Digital Files
With your digitized film photos refined and edited, attention turns to safeguarding these precious digital assets through effective organization and storage. A well-structured digital library guarantees that your cherished memories remain easily accessible and protected from data loss or corruption. When choosing a film scanner, consider models with advanced scanner software that allow for easy organization and editing of digital files, such as the Epson Perfection series. Additionally, some scanners come with film holders for various film sizes, making it easier to digitize and store your film photos.
- Create a clear and consistent folder hierarchy to categorize your digitized photos by date, event, or theme.
- Use descriptive and standardized file naming conventions to facilitate quick identification and searchability.
- Consider using cloud-based storage services or external hard drives for backup and redundancy.
- Set reminders to regularly update and verify the integrity of your backups.
- Implement access controls and encryption to protect sensitive or private content